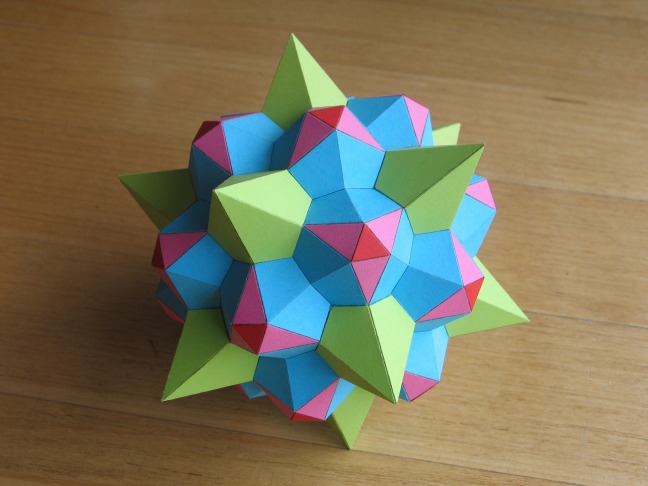
 | 0.345 Cross-Section of Great Stellated 120-Cell |
The great stellated 120-cell is number 12 in the list of uniform polychora in
Stella4D,
with the abbreviated name "gishi". It is a regular polychoron, with 120
great stellated dodecahedra as its cells.
The model you see here is a 3D cross-section through that 4D polytope, taken
about 34.5% of the way through the model, along one of the 60 icosahedral
symmetry axes. The precise location of the slicing hyperplane has been chosen
to pass through 12 of the polychoron's vertices. In
Stella4D, use the yellow left and right
arrows in the top right part of the cross-section view to step through slices
that coincide with vertices of the model.
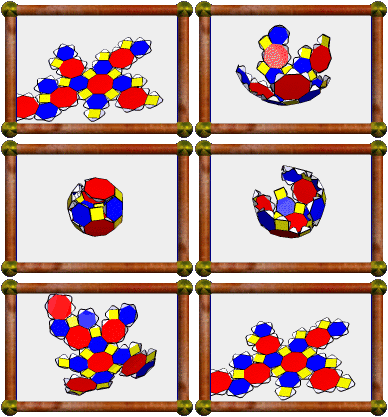
See this tutorial for some comments on
obtaining nets for building paper models of 4D polytopes.
|
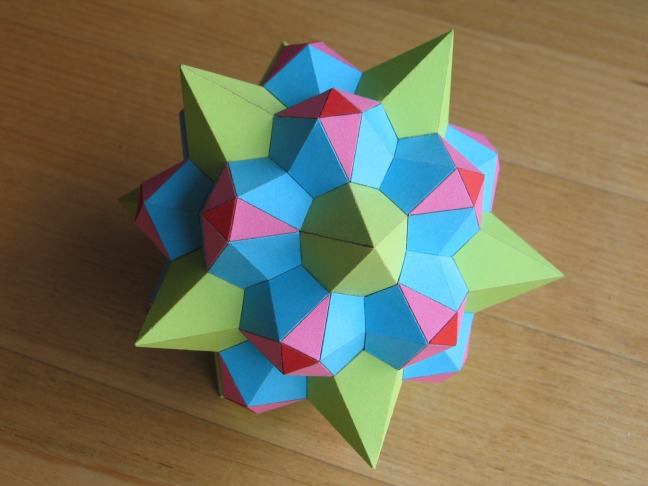
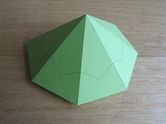
I changed my mind about how to put this model together part way
through, but here's how I started. I used a combination of stellation
and faceting to create a
small stellated dodecahedron (SSD) where
each triangular piece was subdivided into two smaller parts, providing
lines where the remaining parts will line up.
|
|
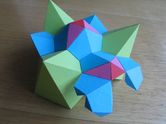
I built three peaks of the SSD in this way, and started filling in the
other parts around them.
|
|
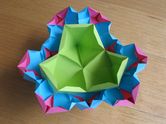
Here it is the other way up, with all the extra parts filled in.
However I found this style of construction a bit impractical. Rather
than gluing tabs to tabs as I normally would, it involved gluing tabs
to the faces of the SSD within, lining up with those extra printed
lines, and it seemed that continuing in this way would become more and
more difficult.
|
|
Of course, I could just have used the nets as automatically generated
by Stella4D, but I prefer to have extra structure inside to give the
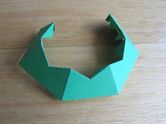
final model more rigidity. So I decided to split the remaining SSD
peaks into two separate nets, dividing at the lines that were
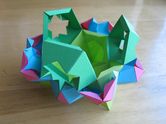
previously only printed. Here's the base part of one of those peaks.
|
|
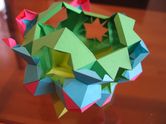
Here with some of the new base parts attached. This will make
construction easier by allowing the remaining parts to be glued to the
base parts' tabs.
|
|
Taking form, with three more of the SSD peak bases added.
|

|
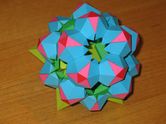
Once all the base parts and intervening parts have been added, it only
remains to add the outer parts of the SSD peaks. These aren't too hard
to add with tweezers and one of my least-used utensils, the severed top
of a metal coat hanger. I found this helped to reach in one hole and
around to the next, to help push the final tabs on each peak together.
|
|
Just six outer peaks to go. Even the last one is not too hard to put
in, although you can't get inside to squish the final tabs together.
|
|
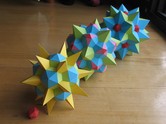
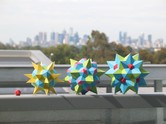
Here are all four gishi cross-sections taken at hyperplanes
which pass through successive vertices of the polytope, built at
appropriate relative sizes:
|
|
And again with the city of Melbourne, Australia, as a backdrop.
|

|
Here's an animation of the gishi cross-section as the slicing
hyperplane moves through the model.
Can you spot the four cross-sections above?
|
