 | Topological Dodecadodecahedron |
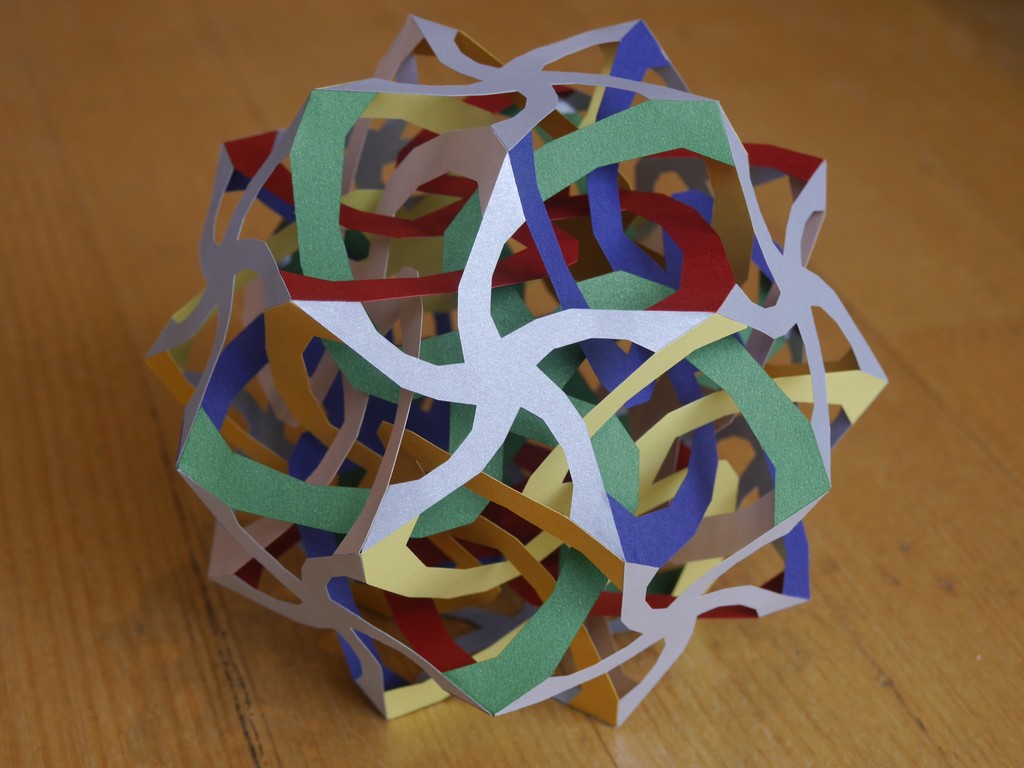
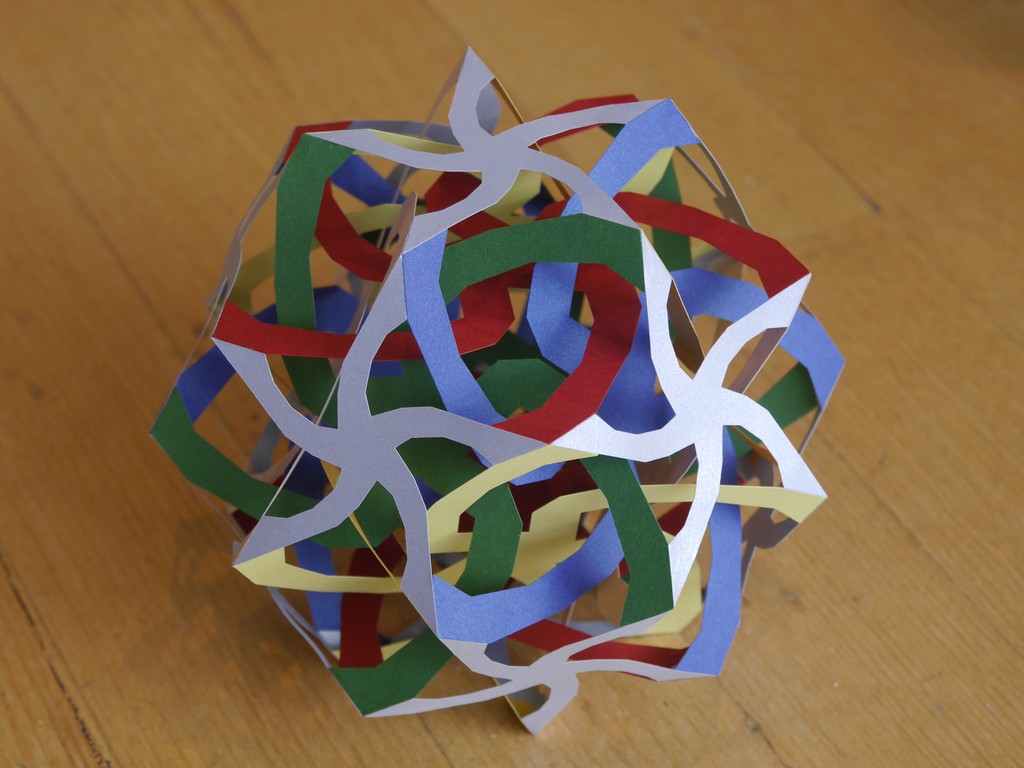
This is a stylized version of the
dodecadodecahedron.
The idea is that only true edges of the polyhedron should connect.
The false edges that normally appear in a model where faces intersect
but don't share a true edge have been removed by hiding parts of each face,
allowing the faces to weave past each other without collision. I call this a
topological model, as it highlights the true
topology of the polyhedron. This gives you
a better understanding of the internal structure of the polyhedron.
|
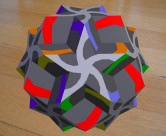
Here's a dodecadodecahedron in Great Stella, showing in colour the
parts that will remain of each face. The dark grey areas will be cut
away. In the final model, it's quite hard to see the original
dodecadodecahedron!
|
|
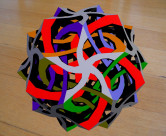
The finished model in Great Stella. Here we have a solid model, unlike
my paper model whose sides don't have any thickness to them. I kept
the coloured parts from this image, leaving out the black faces.
In fact you can
print the nets without even making a solid model like this. Instead,
just use Faceting mode to design the faces. Facets appear in
the nets straight away, without having to complete the model. These
faces were created by loading a dodecadodecahedron, then using
"Poly→Subdivide Faces" with a high level of subdivisions, and
then using the additional vertices in Faceting mode to design the
final parts.
|
|
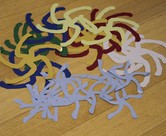
Here's all 24 the parts ready to go.
|
|
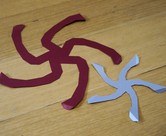
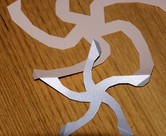
There are two different types of part required, as seen here. 12
copies are required of each.
|
|
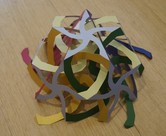
Each pair of connected parts attach at two locations. These are at the
start and end of the original dodecadodecahedron edge.
|
|
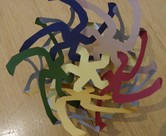
It's not too hard to make sure the parts weave past each other
correctly, but do take some care. I started with one of the smaller
pieces and attached 5 larger parts around it. Put a sixth large piece
in place below the original small part (nothing to glue to yet). Then
you can glue in 5 more of the smaller part.
|
|
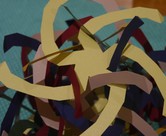
Here's what it looks like from inside at this stage.
|
|
Continue gluing large parts into the second half of the model. The
final large part can be sat near the top (the model now sitting on the
small part we started with) and twisted down into place between the
other larger parts. Take care that everything weaves past each other
correctly. Then glue the final small parts into place.
|
