
| Home > Gallery > My Models > Uniform Polyhedra > Great Icosicosidodecahedron | |
| Prev (Great Rhombicosidodecahedron) | Next (Small Snub Icosicosidodecahedron) |
Great Icosicosidodecahedron |
| Like or comment on facebook |
- Vertex description: 6.3/2.6.5
- Faces: 52
- Edges: 120
- Vertices: 60
- External facelets: 1232
- Dual: Great icosacronic hexecontahedron
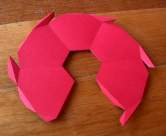
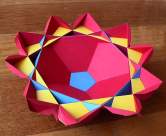
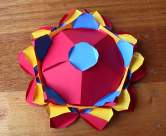
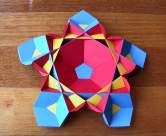
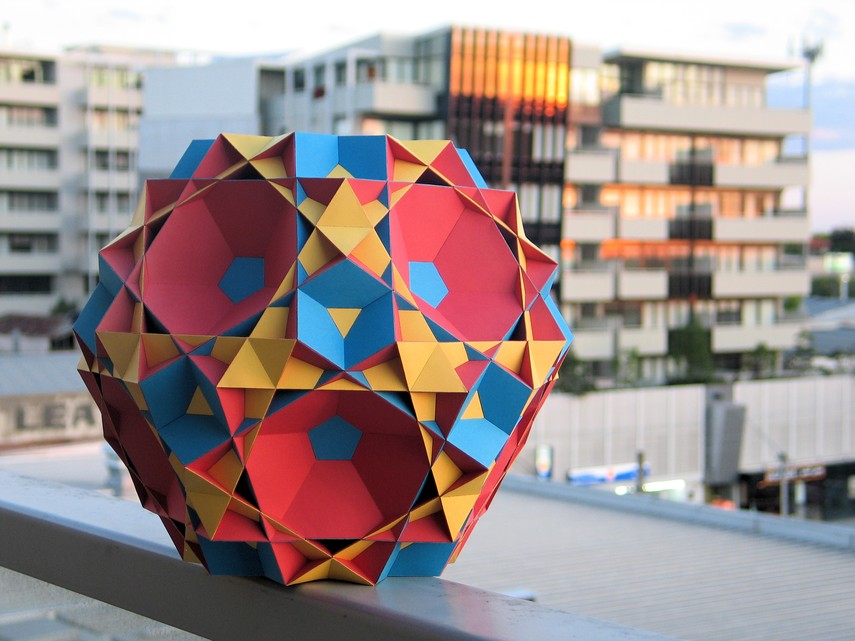
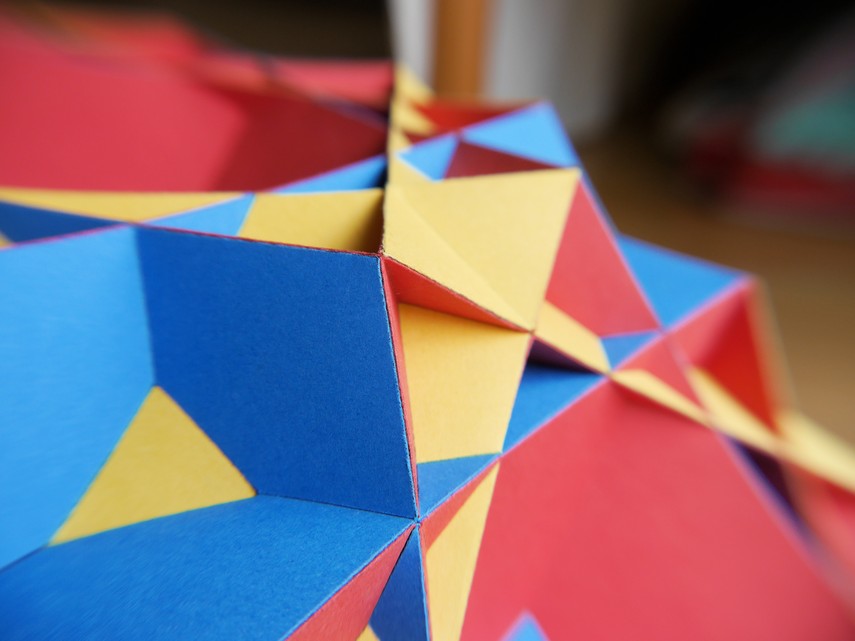
This model has 1232 external facelets to put together! It's a uniform polyhedron, and so all the faces are regular, but intersecting. Can you pick them out?! Each vertex is met by four faces, a triangle, a hexagon, a pentagon, and finally another hexagon which crosses back through the first one. Triangles and pentagons are not too hard to see, in yellow and blue respectively, but the red hexagons are harder to identify, with different parts of the hexagon visible from above and below.
This polyhedron is a faceting of the truncated dodecahedron (meaning they share the same vertex positions), and also shares its vertex arrangement with two other uniform polyhedra, the great ditrigonal dodecicosidodecahedron, and the great dodecicosahedron.
More than two months passed while making this model, but I was also working on many other things during that time, so it could be made faster. The completed model is very robust. It has an edge length of 14.5 centimetres, and a diameter of almost 33 centimetres.
My half-finished model even made a guest appearance on Australia's Today Show!
| Home > Gallery > My Models > Uniform Polyhedra > Great Icosicosidodecahedron | |
| Prev (Great Rhombicosidodecahedron) | Next (Small Snub Icosicosidodecahedron) |
